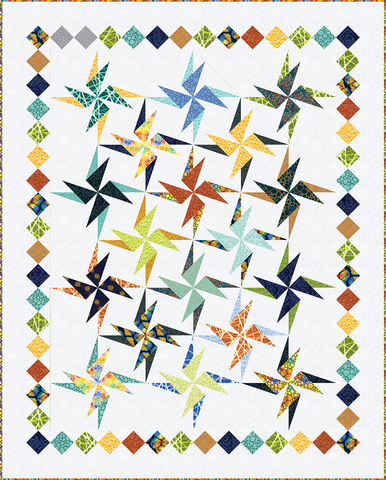
There are three different Corner Pop® tools in the Studio 180 Design toolbox. The original Corner Pop® tool allows you to replace corners on base units with a 1 to 1 ratio. This is what we most often think of when it comes to popping corners. Perfect for snowball type blocks and adding a little extra something to your units, this tool is great for Tuckerizing!
The Corner Pop® II tool allows you to replace corners on base units with a 2 to 1 ratio. For example, the replacement triangle would be 2” tall and 1” wide. The Corner Pop® III tool replaces corners on base units with a 3 to 1 ratio. Replacement triangles would be 3” tall and 1” wide. We have several patterns for all three tools!

But did you know that you can use the Corner Pop® II and III tools to make split rectangle units as well?! Let’s take a look at how this process works.

The first thing you’ll want to do is go to our free downloads page and download the Corner Pop® II and III Replacement Rectangles cutting charts. These great resources give you the measurements you need to cut as few as two replacement triangles at one time.
You’ll need to decide what size you want your split rectangle units to be. For the Corner Pop® II example we’re showing a 2” x 4” finished unit. For the Corner Pop® III example we’re showing a 2” x 6” finished unit.
Cut the rectangles according to the chart sizes and then cut triangles using the tool. Make sure you follow your tool instructions to determine which way you want your units to slant. Doing this will let you know if your fabric should be right or wrong side up for this process.
Using the Cut Away Corners section of the tool, align the Replacement Triangle Cut Line on the long end of the rectangle and the Cut Away Corners line that corresponds to the width of your rectangle along the short end. Cut the rectangle in half to get two triangles.

Stitch the two triangles together and press the seams open.

Now you can use the Corner Pop® II and III tools to trim these units to the exact size you want them to be. Using the Corner Trim Down section of the tool, line up the diagonal line on the seam the corresponds with the finished height of your unit. For instance, with a 2” x 6” finished unit we will use the 6” diagonal for trimming. Trim along the side and top of the tool.

There are solid and dotted lines on your tools that are size clean up lines! We’ve highlighted our size clean up lines with Glow-Line™ Tape to make them easier to see. If you have several units to trim at once, this can make the process much faster.


Rotate the unit 180° and line up the diagonal line on the seam, this time lining up the size clean up lines on the just trimmed edges. Trim along the side and top of the tool. The units are now the exact size you need them to be!

When would we use this process? The Corner Pop® II is perfect for Split Rects® units that are larger than 4” x 8” finished. Corner Pop® III units would be beautiful as borders.


What do you think of this split rectangle process using the Corner Pop® II and III tools? How would you use your split rectangles? The possibilities are endless!